 |
|||
|
|
|||
|
|
|||
| ||||||||||
|
|
 TB 9-2320-279-13&P-2
REAR CAB (RIGHT) ARMOR REPLACEMENT - CONTINUED
0025 00
CLEANING AND INSPECTION
INSTALLATION
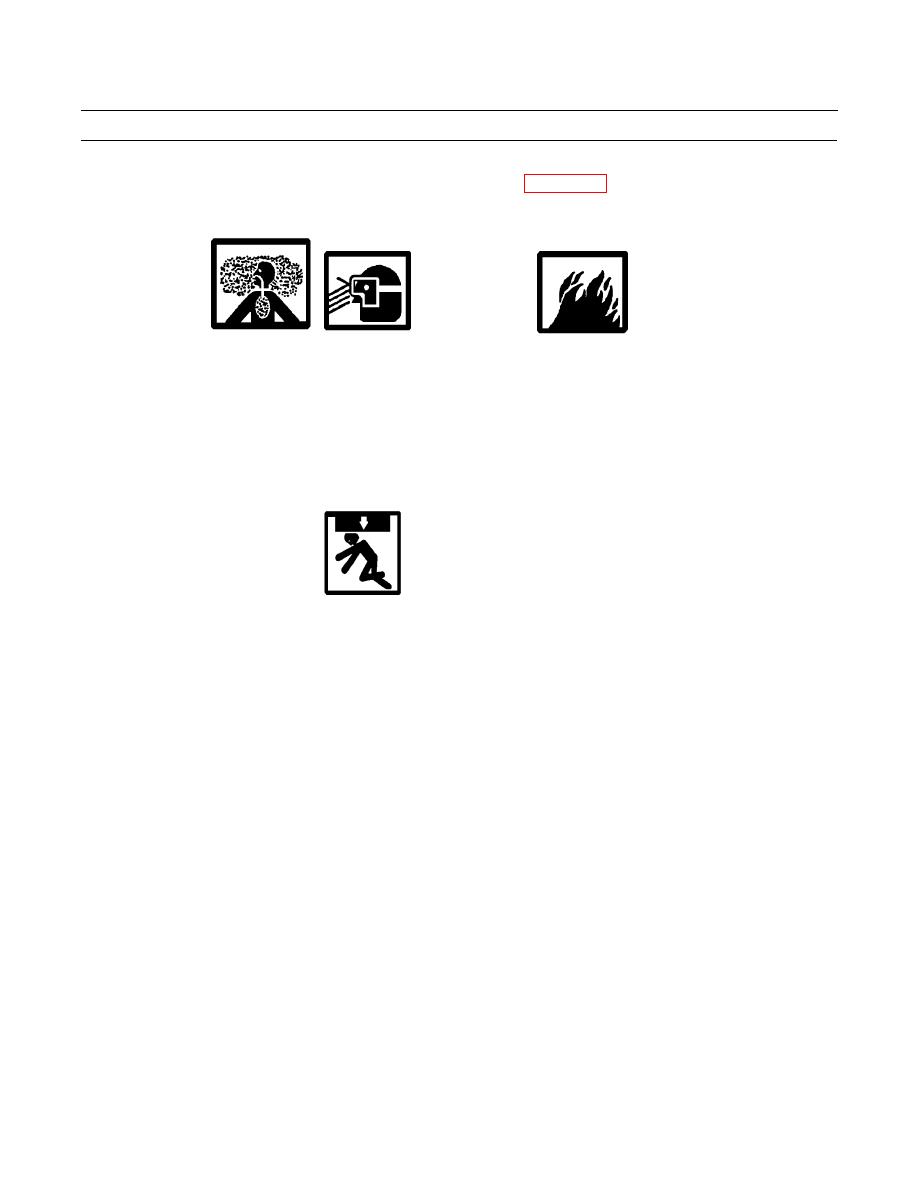
WARNING
Use caution when using adhesives and sealants. Prolonged inhalation of vapors can cause lung irritation.
Contact with skin can cause dermatitis. Wear gloves and safety goggles and use product in a well-ventilated
area away from open flame. If ingested, keep individual calm and seek medical attention. DO NOT induce
vomiting. If contact with skin or eyes is made, flush thoroughly with water. Dispose of cleanup rags IAW
local policy and ordinances. Failure to follow this warning may cause injury to personnel.
1.
Apply thread adhesive to 12 bolts (11).
2.
Install four brackets (17), 12 washers (12), bolts (11), washers (10), and new locknuts (9) on right-rear cab armor (13).
Only hand tighten locknuts at this time.
WARNING
Use extreme caution when handling heavy parts. Provide adequate support and use assistance during proce-
dure. Ensure that any lifting device used is in good condition and of suitable load capacity. Keep clear of
heavy parts supported only by lifting device. Failure to follow this warning may cause injury or death to per-
sonnel.
NOTE
Rear cab (right) armor weighs 100 lb (46 kg).
3.
Install lifting link, sling, and lifting device in center hole of right-rear cab armor (13).
4.
Using lifting device, install right-rear cab armor (13) on vehicle.
5.
Position four brackets (17) over edge of window opening.
6.
Tighten locknuts (9) and bolts (16) to 108 lb-in. (12 Nm).
7.
If equipped with 4-point seat belts, install seat belt bracket (18), three washers (15), and new locknuts (14) (NSN 5310-
01-466-2695).
0025 00-3
|
|
Privacy Statement - Press Release - Copyright Information. - Contact Us |