 |
|||
|
|
|||
|
|
|||
| ||||||||||
|
|
 TB 9-2320-364-13&P-2
GENERAL MAINTENANCE INSTRUCTIONS - CONTINUED
0011 00
STANDARD TOOL REQUIREMENTS
1.
The following are general practices regarding the use of tools:
a. Always use the proper tool kit and tools for the procedure being performed.
b. Ensure that tools are clean and lubricated to reduce wear and prevent rust.
c. Keep track of tools. Do not be careless with them.
d. Return tools to toolbox when finished with repair or maintenance.
e. Return toolboxes and tools to tool storage when not in use.
f.
Inventory tools before and after each use.
2.
Some maintenance tasks may require special or fabricated tools. The "Initial Setup" of the procedure will specify any
special or fabricated tools needed to perform that procedure. Use these special tools only for the maintenance procedures
for which they are designed or specified. If you are unfamiliar with a required tool, see your supervisor.
USE OF THREAD ADHESIVE
WARNING
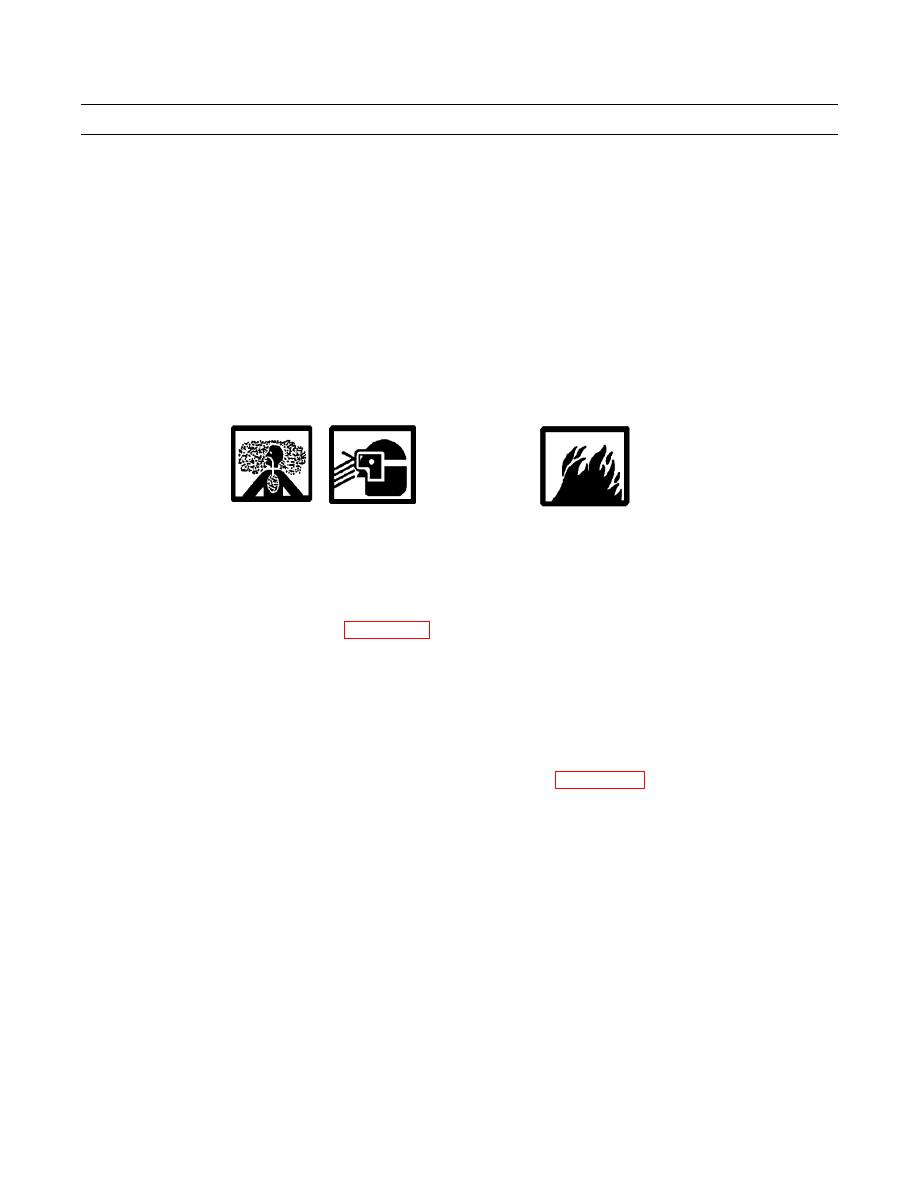
Use caution when using adhesives and sealants. Prolonged inhalation of vapors can cause lung irritation.
Contact with skin can cause dermatitis. Wear gloves and safety goggles and use product in a well-ventilated
area away from open flame. If ingested, keep individual calm and seek medical attention. DO NOT induce
vomiting. If contact with skin or eyes is made, flush thoroughly with water. Dispose of cleanup rags IAW
local policy and ordinances. Failure to follow this warning may cause injury to personnel.
1.
All nuts, bolts, and screws used in the installation of the armor kit or when replacing armor kit components must be
coated with Thread Adhesive (Item 1, WP 0033 00), unless otherwise stated.
2.
Locknuts supplied with the kit do not require thread adhesive.
USE OF SEALANT
1.
When applying sealant, follow manufacturer's instructions on label of container.
2.
Sealant should be applied in an even and continuous 1/4 inch bead along mating surfaces.
APPLYING TORQUE
1.
2.
If a unique torque value is required, it will be provided in the procedural step of the task.
TAGGING INSTRUCTIONS
1.
Use marker tags to identify all electrical wires and any other parts that may be hard to identify or replace later. Fasten
tags to parts during removal by wrapping wire fasteners around or through parts and twisting ends together. Position tags
to be out of the way during cleaning, inspection, and repair. Mark tags with a pencil, pen, or marker.
2.
Whenever possible, identify electrical wires with the number of the terminal or wire to which it connects. If no markings
can be found, tag both wires or wire and terminal, and use the same identifying mark for both. If you cannot tag a wire
because it must fit through a small hole or you cannot reach it, write down the description of the wire and the point to
which it connects, or draw a simple diagram on paper. Be sure to write down enough information so you will be able to
properly connect the wires during assembly. If you need to identify a loose wire, look for identifying number near end of
the wire, stamped on a permanent metal tag. Compare the number to wire numbers on the appropriate electrical sche-
matic.
3.
Identify and tag other parts as required by name and installed location.
END OF WORK PACKAGE
0011 00-4
|
|
Privacy Statement - Press Release - Copyright Information. - Contact Us |