|
| |
TM 9-2320-364-34-2
3-17
a.
Removal.
NOTE
If equipped with a 200 AMP
alternator, perform Steps (1)
through (5)
If equipped with a 145 AMP
alternator, perform Steps (6)
through (8).
Tag and mark wires and
hoses prior to removal.
(1)
Remove nut (1), lockwasher (2), washer (3),
wire 1860 (4) and wire 1274 (5) from 12
volt terminal (6). Discard lockwasher.
(2)
Position washer (3) and nut (1) on 12 volt
terminal (6).
(3)
Remove nut (7), lockwasher (8), washer (9),
washer(s) (if present) (10), fuse link (11),
insulator washer (12), wire 1820/1953 (13)
and wire 1281A (14) from 24 volt terminal
(15). Discard lockwashers.
(4)
Position fuse link (11), insulator washer
(12), washer(s) (if removed) (10), washer
(9) and nut (7) on 24 volt terminal (15).
(5)
Remove screw (16), lockwasher (17), wire
1815 (18), wire 1435 (19) and wire 1275
(20) from alternator (21). Discard
lockwasher.
5
3
2
1
8
14
9
13
11
7
10
10
6
15
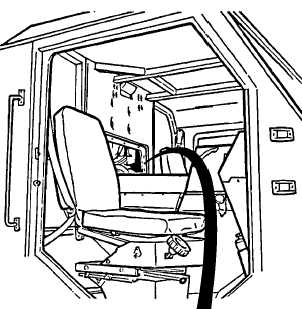
DOOR
SHOWN
REMOVED
FOR CLARITY
17
20
19
18
16
21
4
12
|