 |
|||
|
|
|||
|
Page Title:
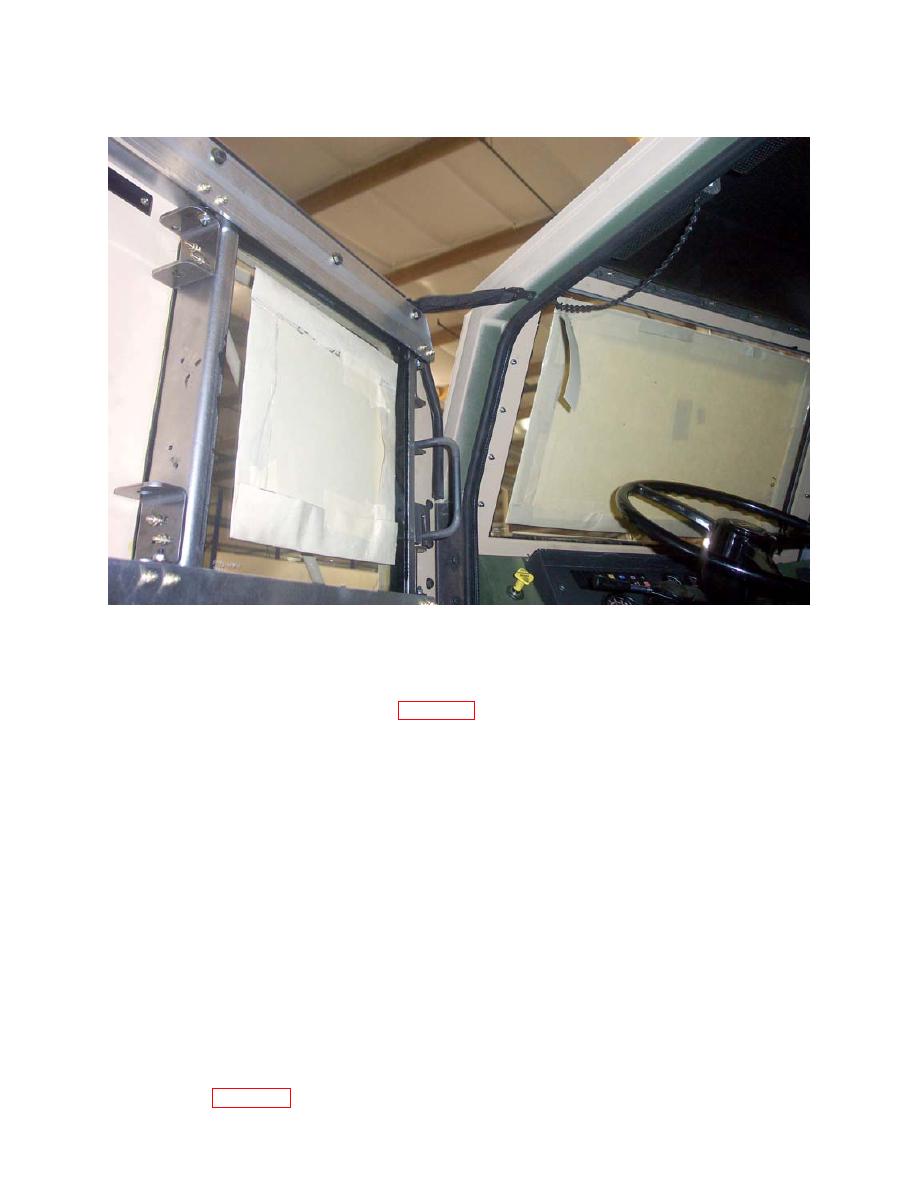
Figure 34. Install the new Attachment Strap to the Armored Door Assembly. |
|
||
| ||||||||||
|
|
 II106700-5
Rev. B
Figure 34. Install the new Attachment Strap to the Armored Door Assembly.
x. Install the Striker Support (P/N 113327-1) using two cap head bolts
(5/16 18 x 1.000 LG) (See Figure 33a). (As an alternate use a
5/16 18 x 1.250 LG bolt.)
y. Adjust door latch linkage and/or the door rotary latch up / down and in / out as
required (using washers in the extra fasteners kit (P/N 111444-1).
z. Repeat Steps "a" through "y" for the remaining Armored Door Assembly installation.
106703-10 (RH)
NOTE
Torque fasteners to 8 ft-lb.
a. Install the Rear Cab Armor Panels to mark the positions of the bolts that secure the
Panels to the cab.
1. Position the Rear Side Cab Armor Panels (for the LH Panels, use P/Ns 106729-3
and 106729-5 from Kit P/N 106703-9; for the RH panels, use P/Ns 106729-3,
and 106729-5 from Kit P/N 106703-10) onto the rear side of the cab (See
0039 00-67
|
|
Privacy Statement - Press Release - Copyright Information. - Contact Us |
